- -20%


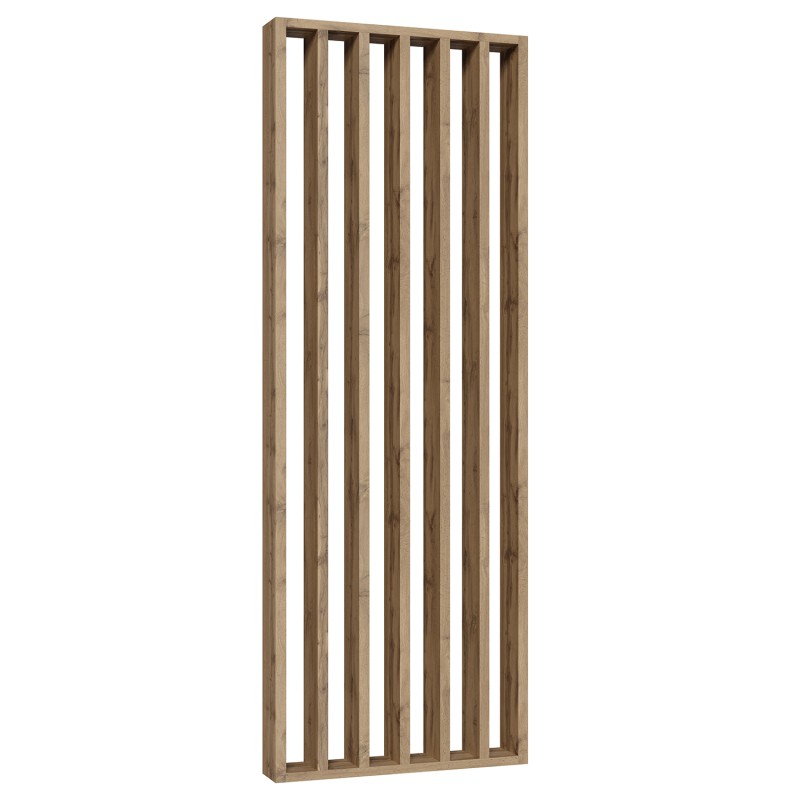
Reference: LAM_PL_SC_700
Production time 10-15 business days plus Transportation 5-10 business days
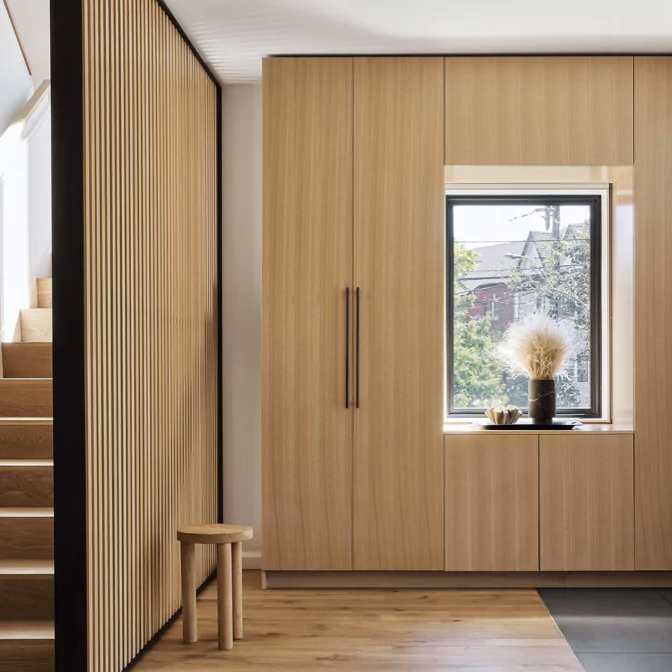
A lamella partition wall will allow you to create new zones inside your home. You can use it for various purposes, such as to separate rooms or as a balustrade.
Do you feel that you need to change something in your home but have no idea how to solve this issue? The solution is a lamella partition wall. Why?
With its modern design, the lamella wall offers a multitude of design possibilities and can be a timeless decoration.
The natural light that flows through the wall separating a specific zone of the interior will not disturb the proportions of your home. It will make it look bigger visually, and the wall will optically lengthen.
No one is indifferent to the feeling of prestige. You achieve this feeling by modernising your home with lamella partitions. It’s simple and easy.
A lamella wall will look great in any room. It doesn't matter if you want to use it in the living room, hall, office, and even the kitchen or bathroom - it will give each of them a new look.
By using the slats in this way, you will achieve an unconventional arrangement of your interior, and the effect will enhance the sense of affordable luxury.
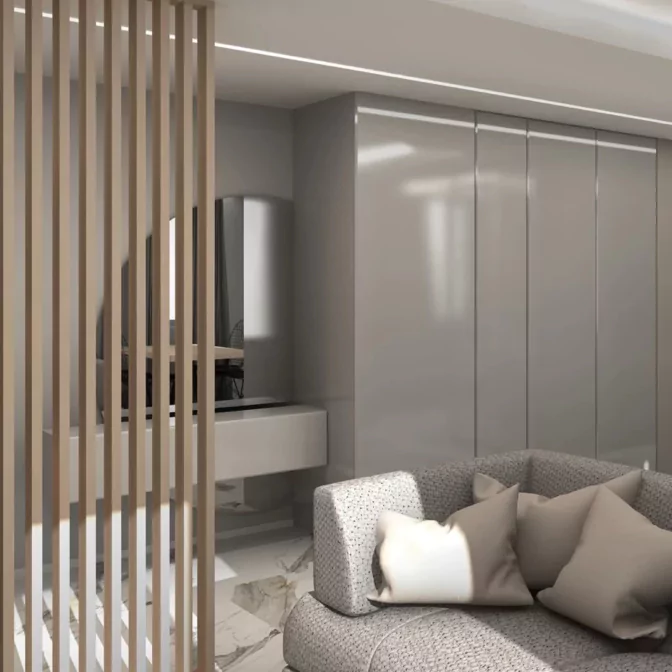
The colour of the wood adds a natural feeling and warmth to the room.
Everyone wants to have the right conditions in their "castle" to rest, relax and develop their passions. You can provide them by using lamella partition walls.
Slated walls have soundproofing properties, which makes them perfect for living rooms, bedrooms or home theatres.
They can also be used in studio rooms as bass traps or echo diffusers.


Select the wall width (mm) from the list.
Specify wall height (mm).
We send you cut-to-size slats that are pre-drilled and ready to install.
Assemble the slats in the place of your choice. We know you can do it. Good luck!
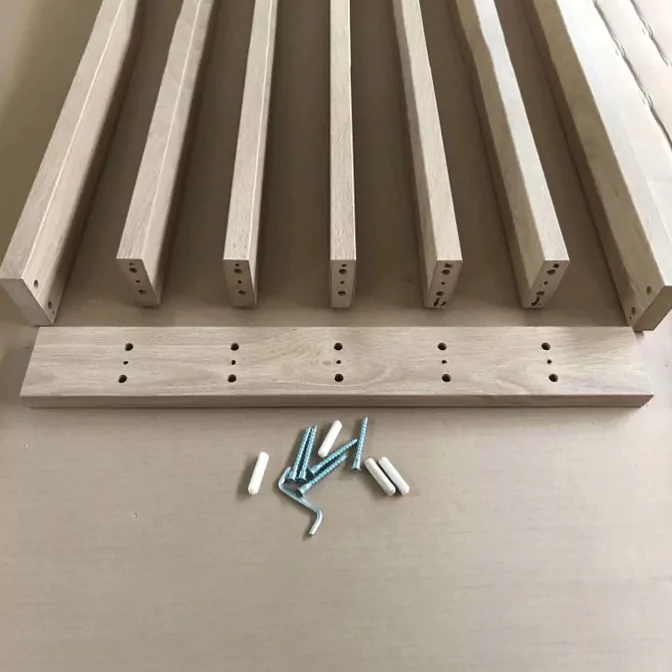
Screws and dowels.
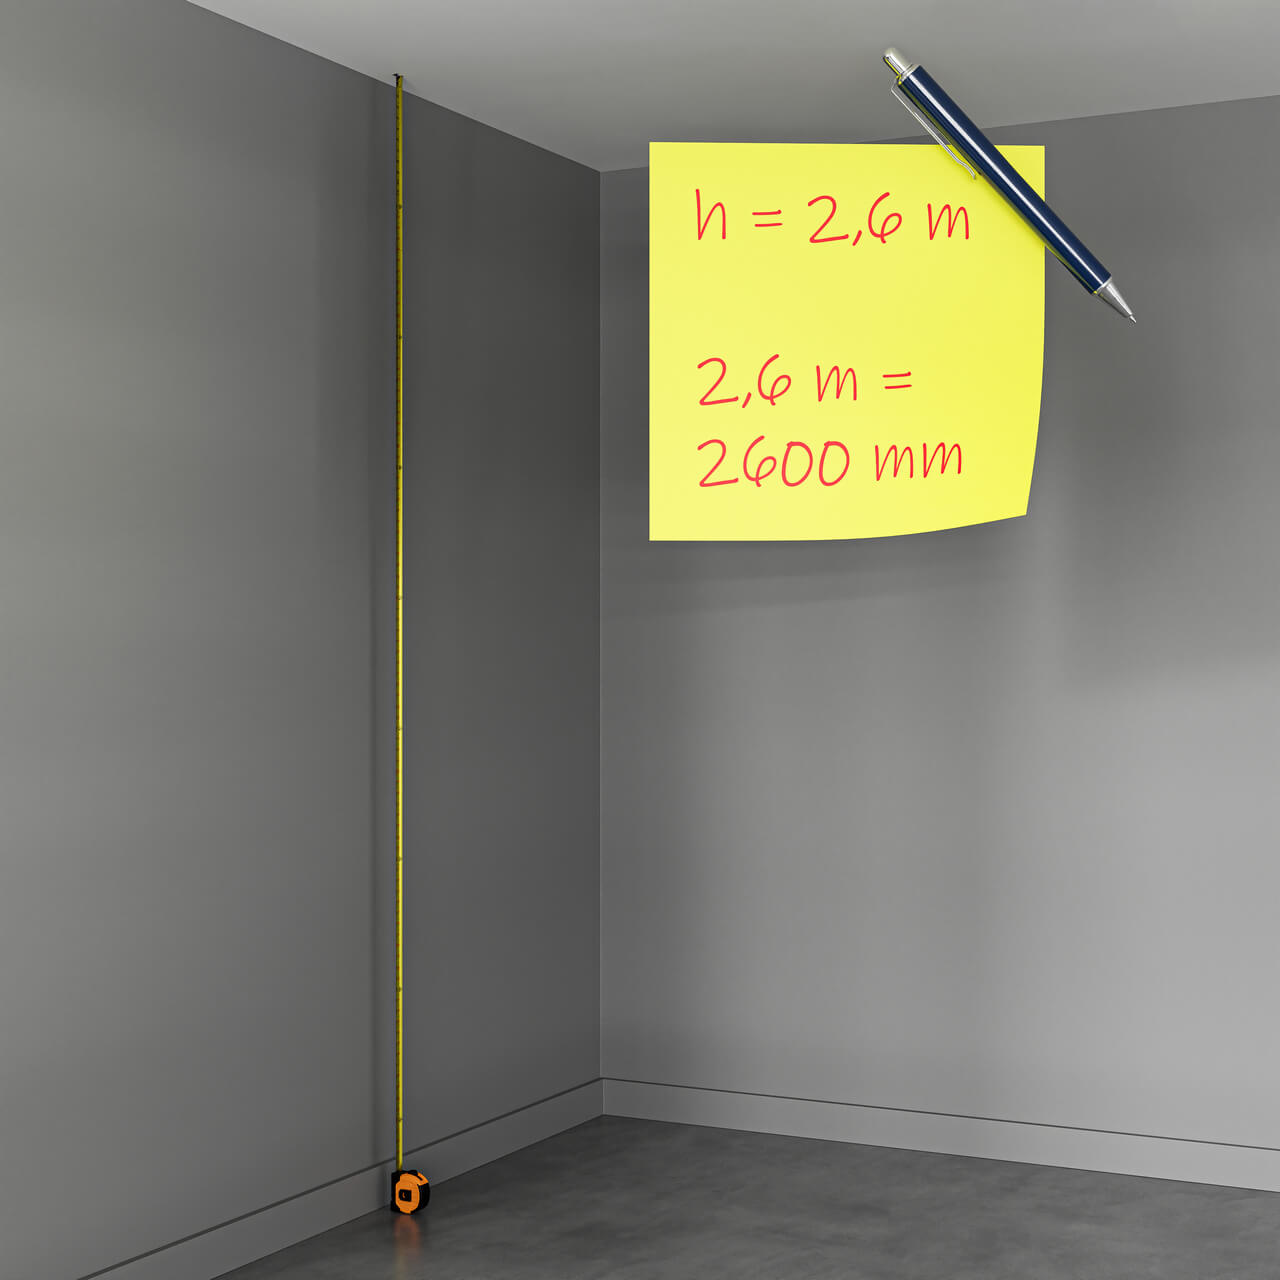
Measure the height from the floor to the ceiling.
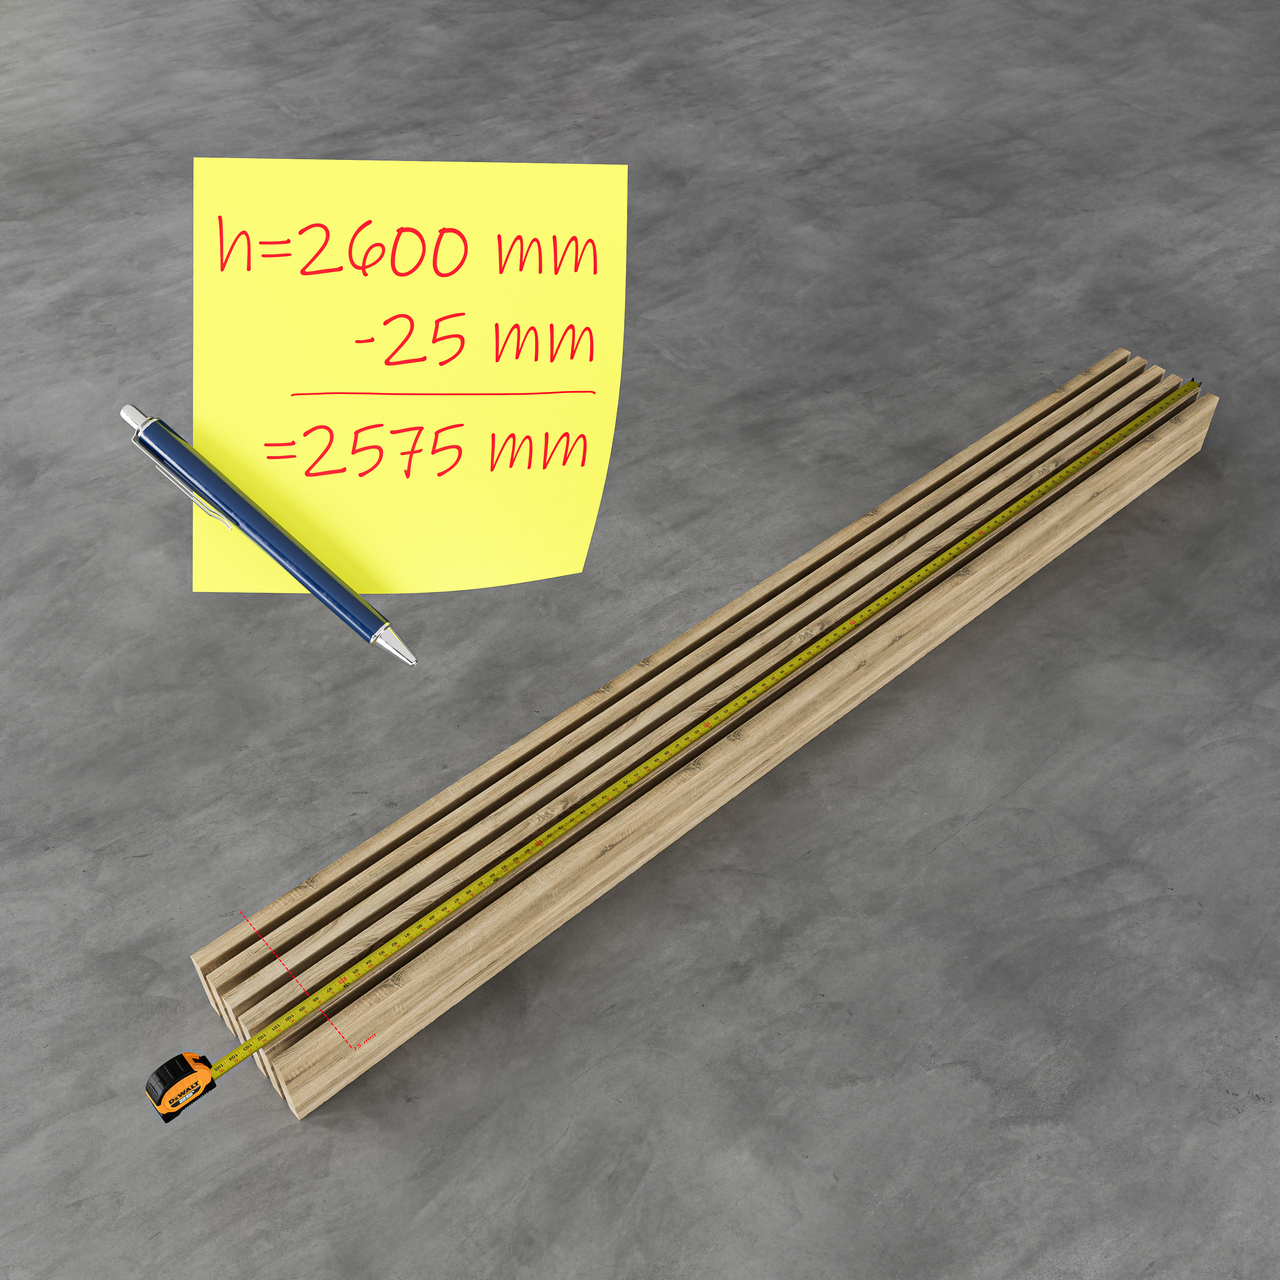
Subtract 25 mm from the measured height.
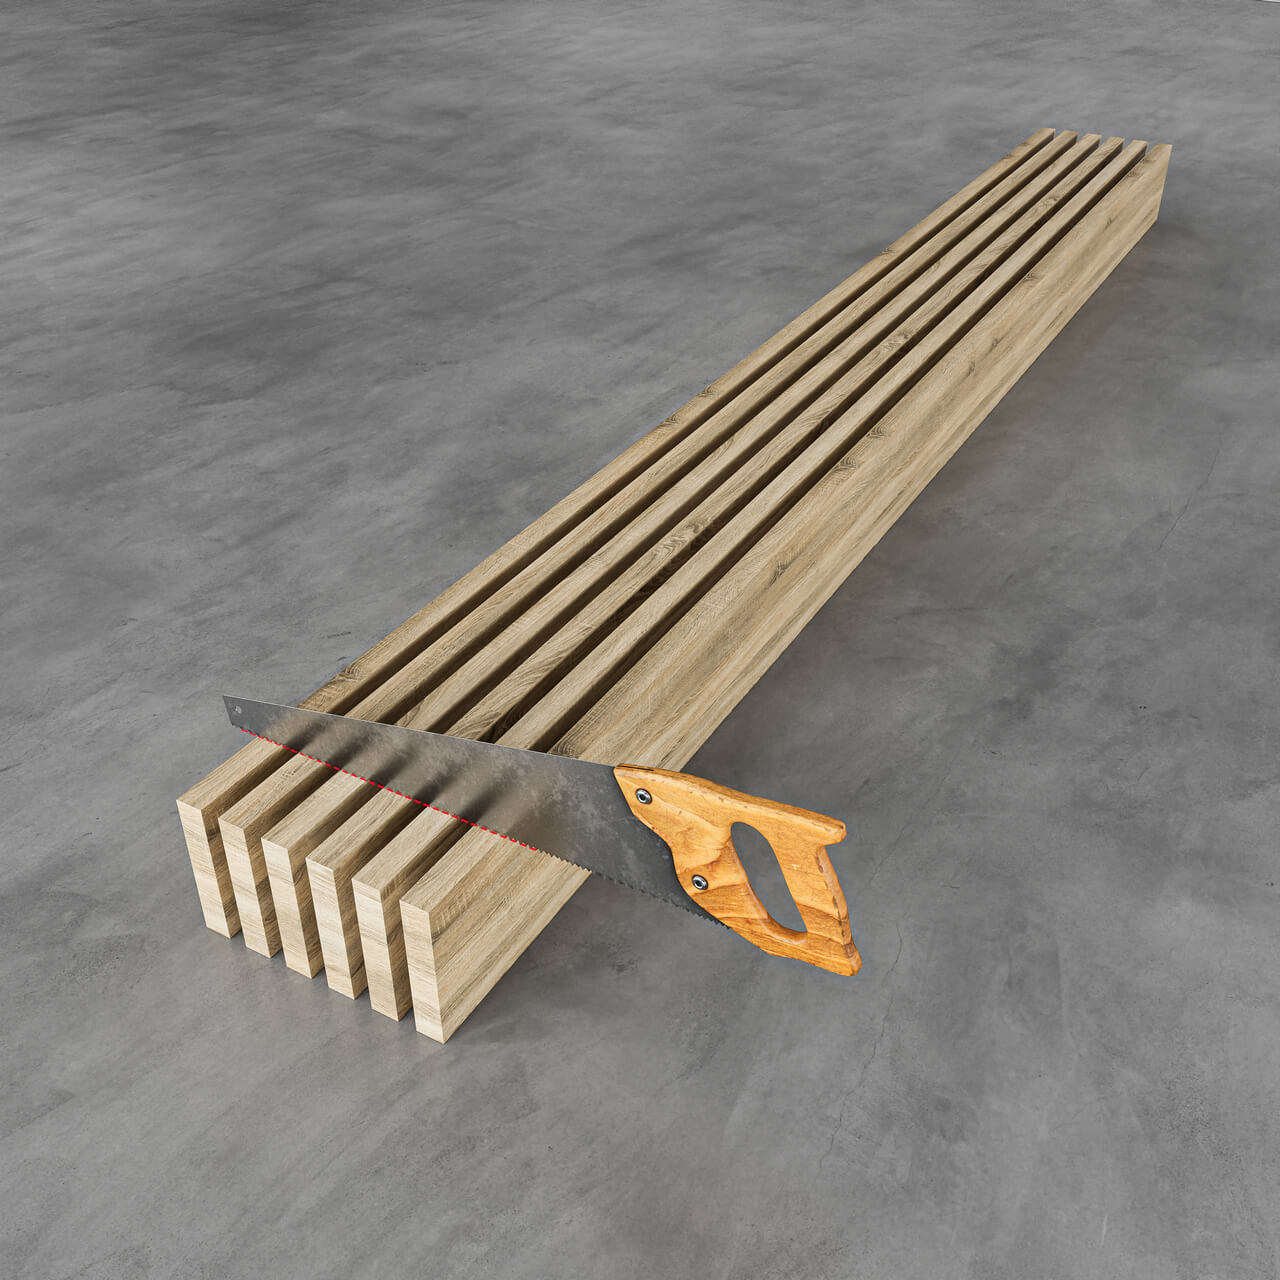
Cut the slats to the appropriate length.
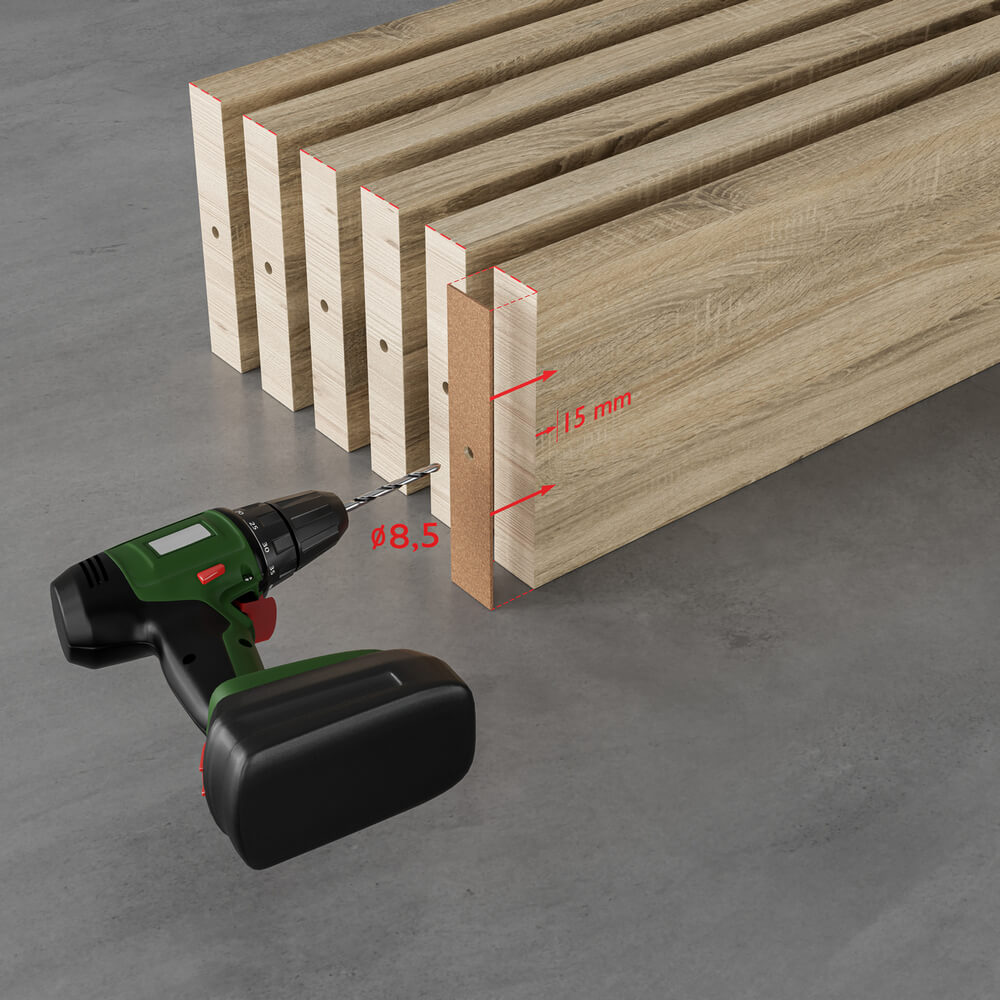
Using the provided template, drill holes no deeper than 15 mm at both ends of the slats. Drill diameter: Ø8,5 mm. The holes should be centered.
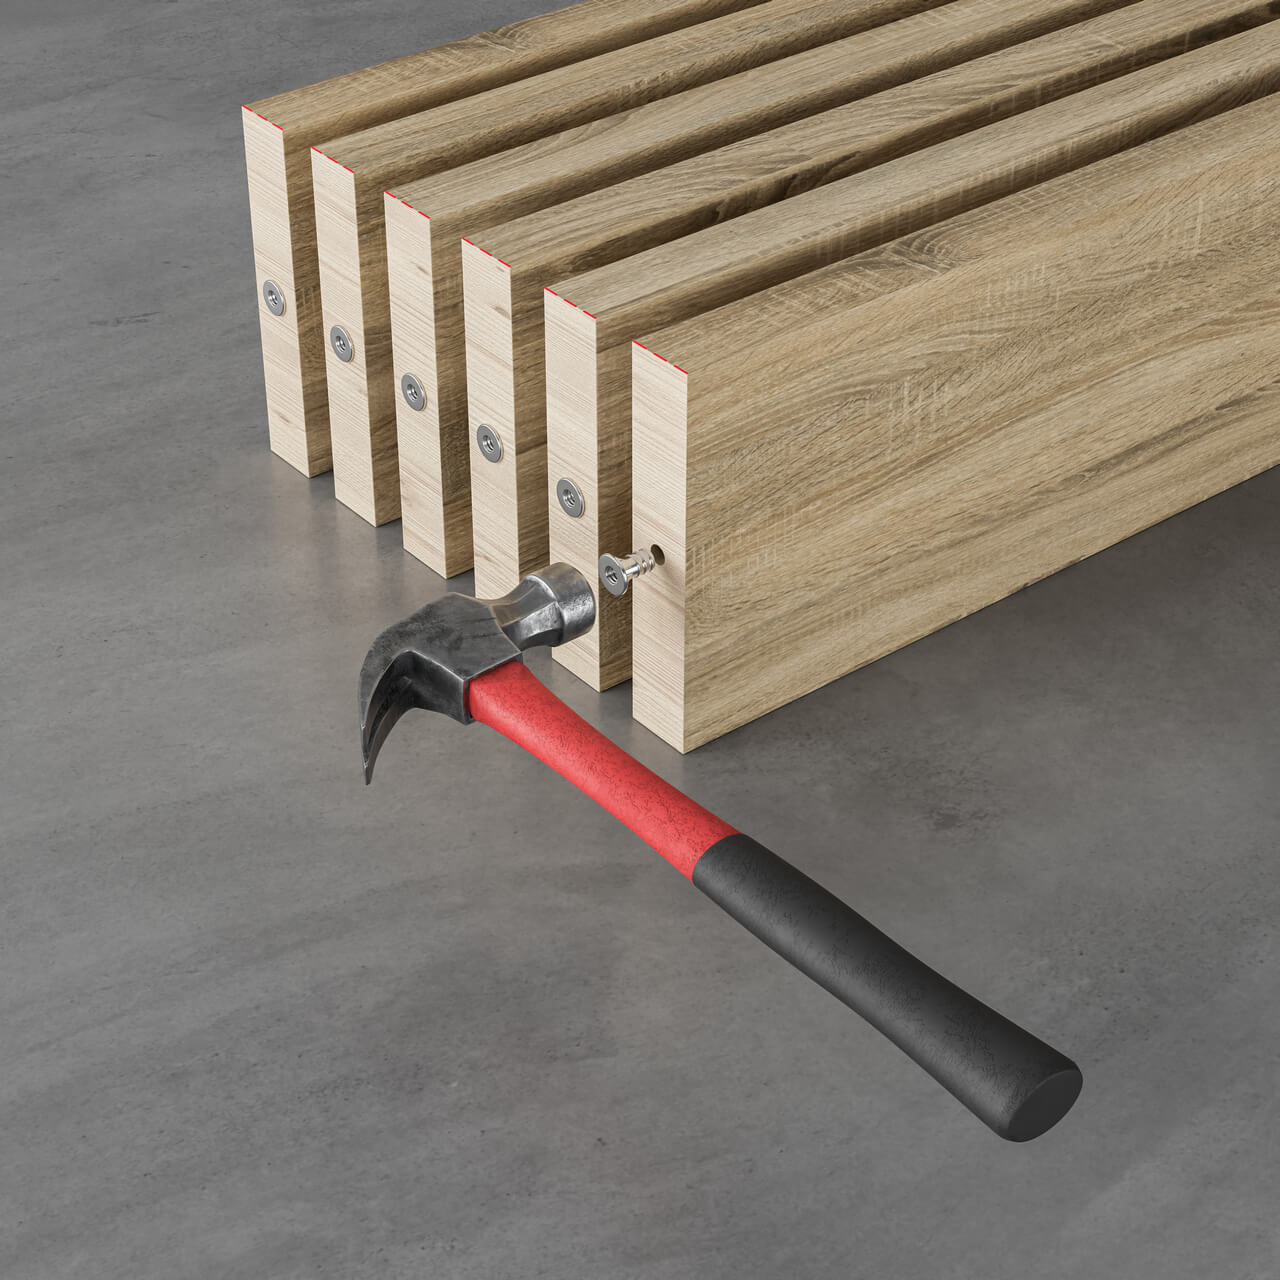
Place the sleeves in the drilled holes and gently tap them with a hammer until they are flush with the slat surface.
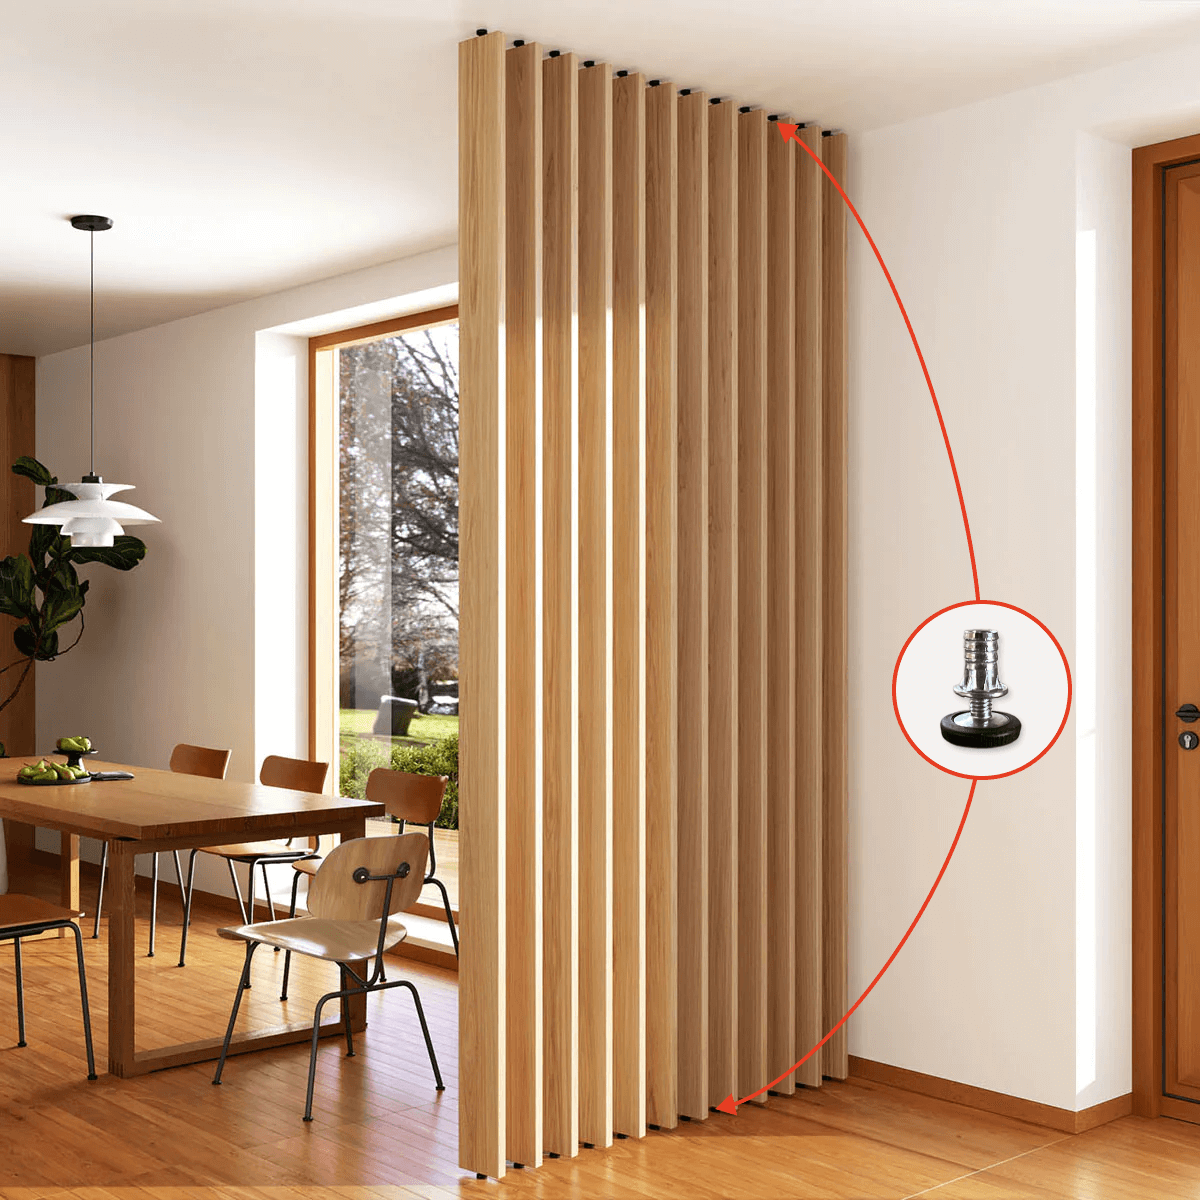
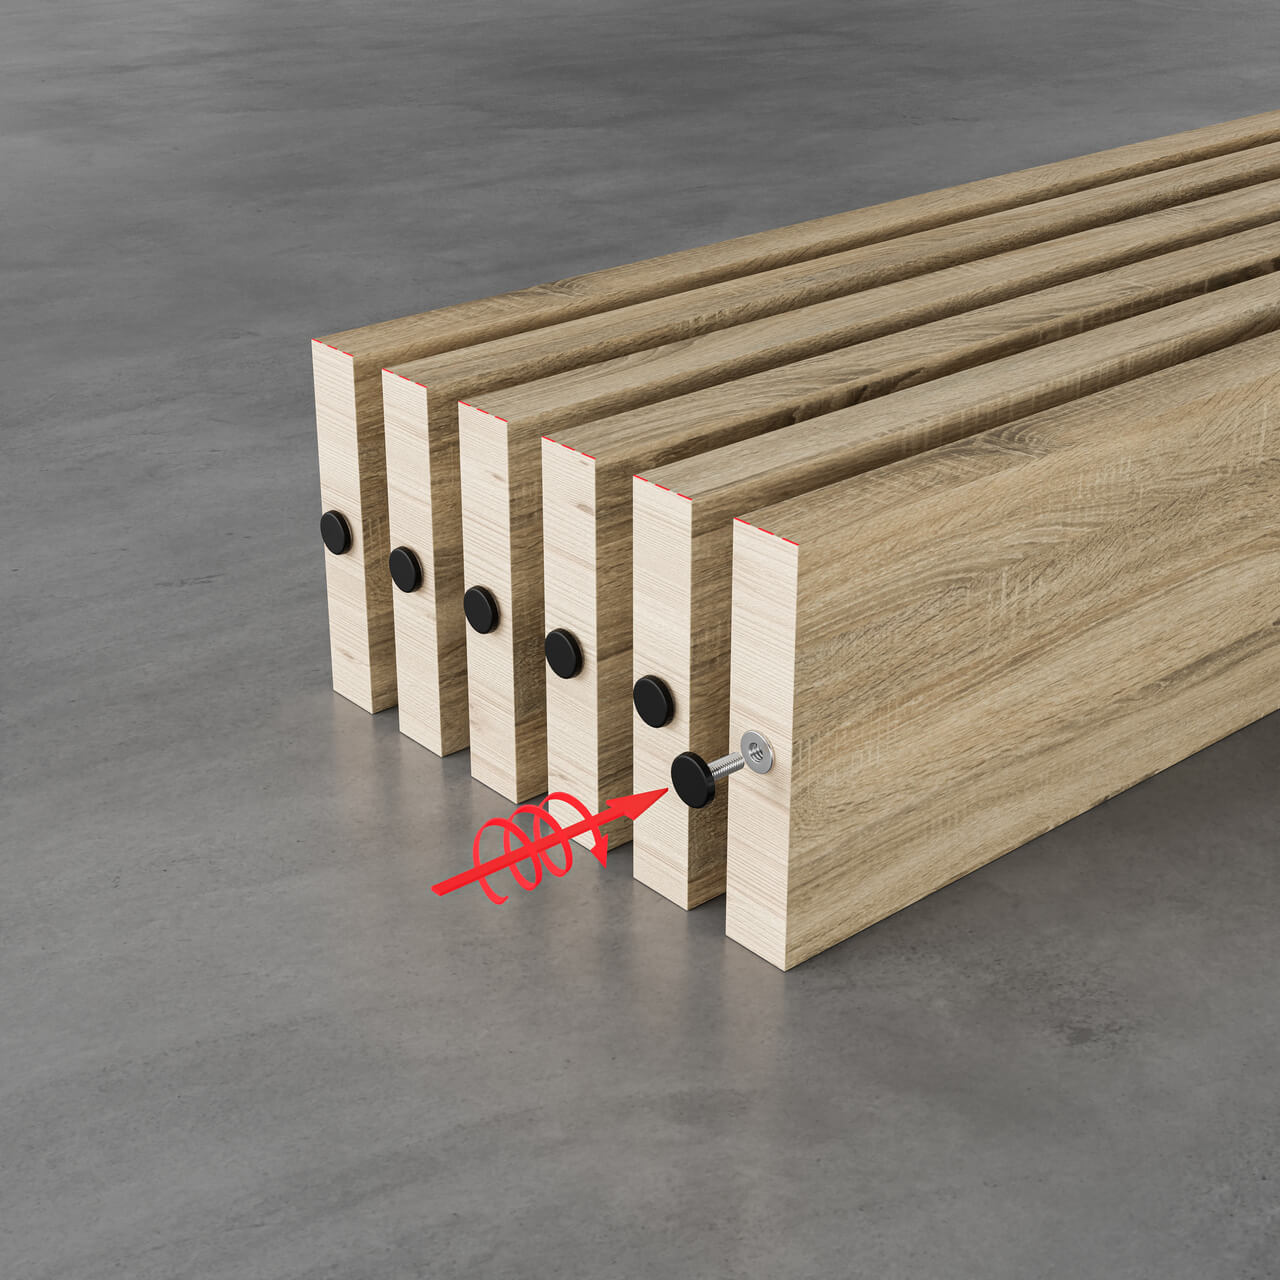
Screw the feet into the internal thread of the sleeves.
Place the slats in the designated location, ensuring vertical alignment with a level.
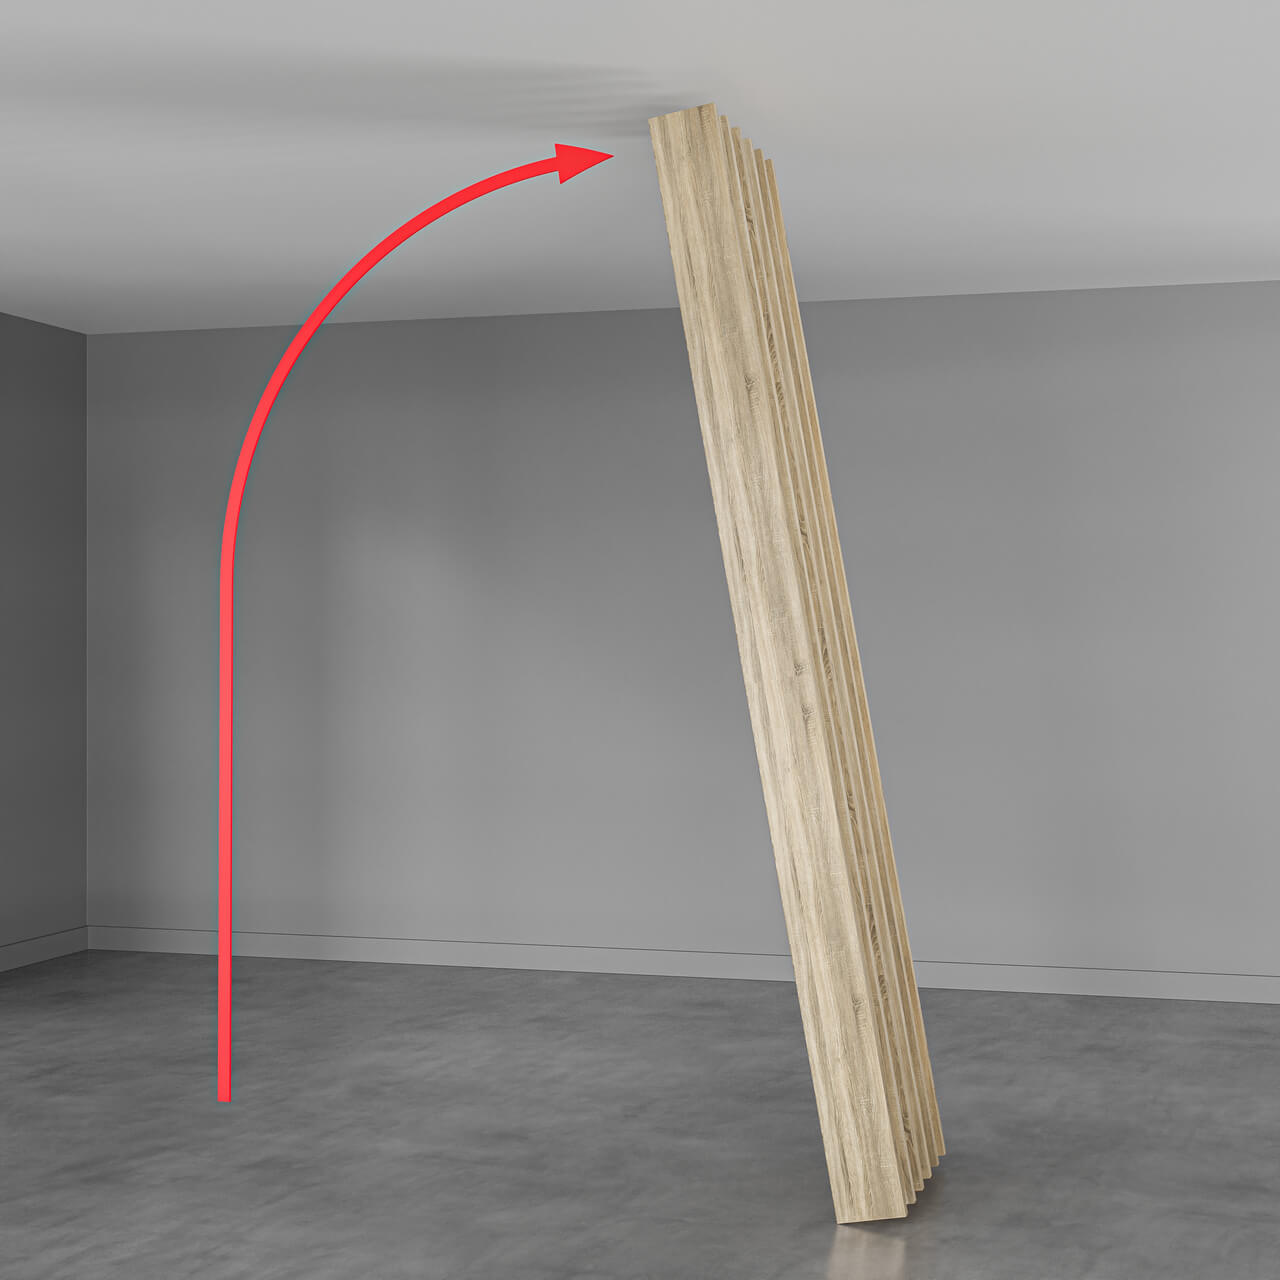
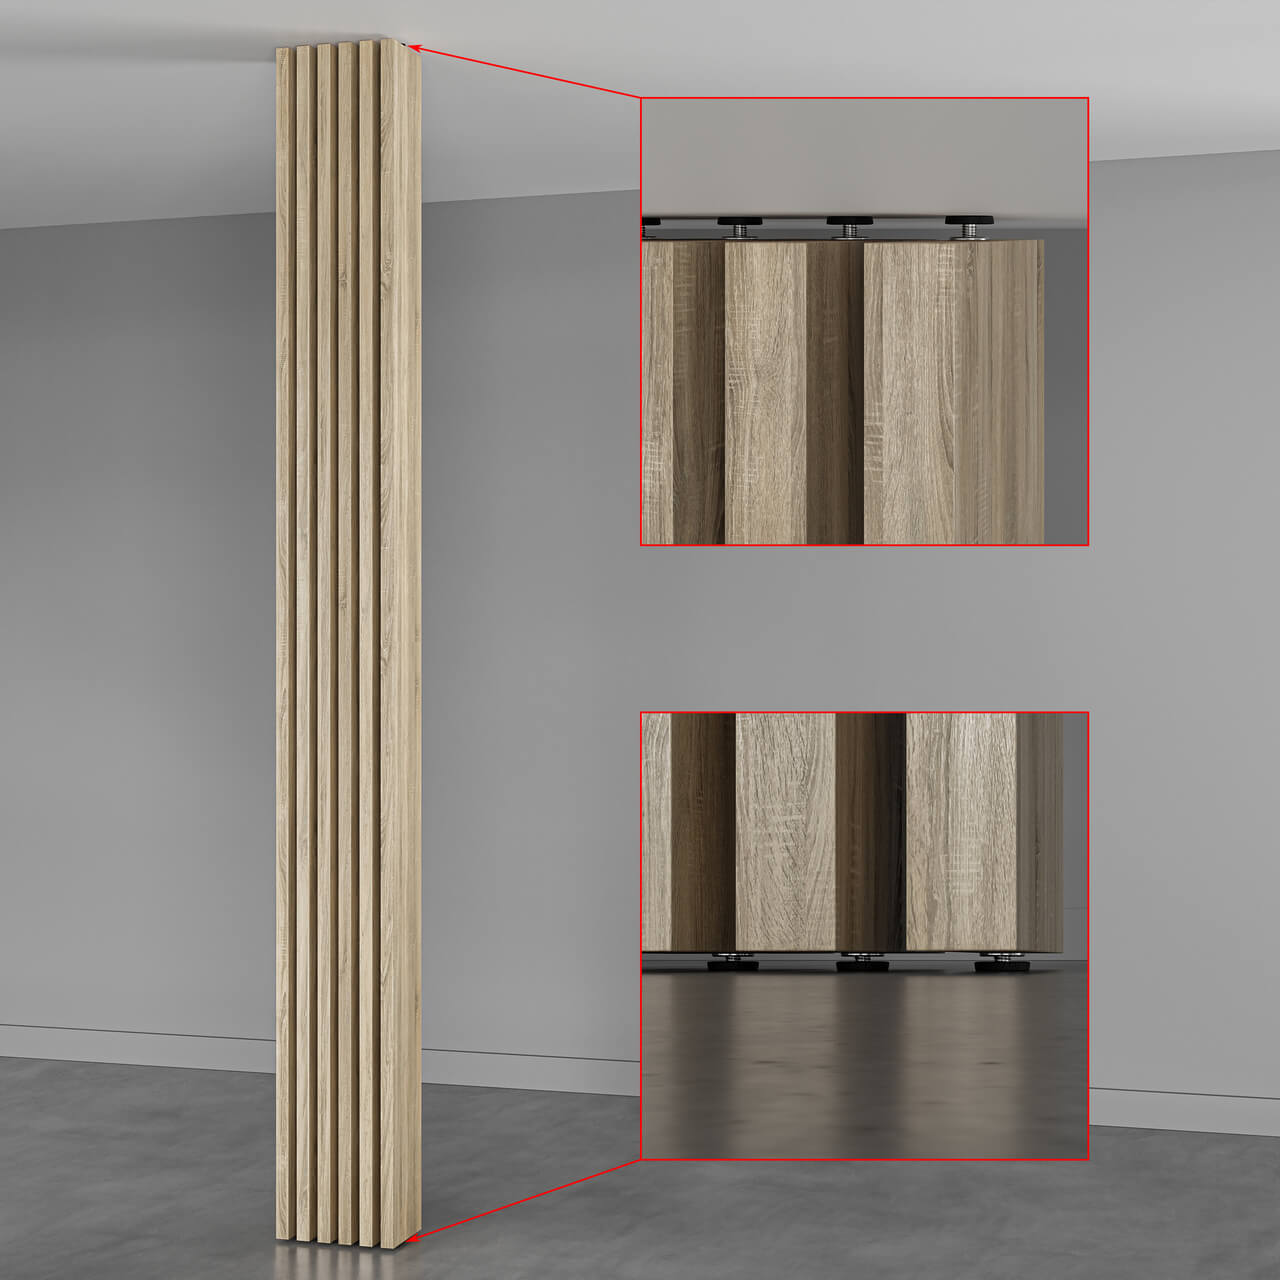
Secure the slats by gradually unscrewing the lower and upper feet until they press firmly against the floor and ceiling.
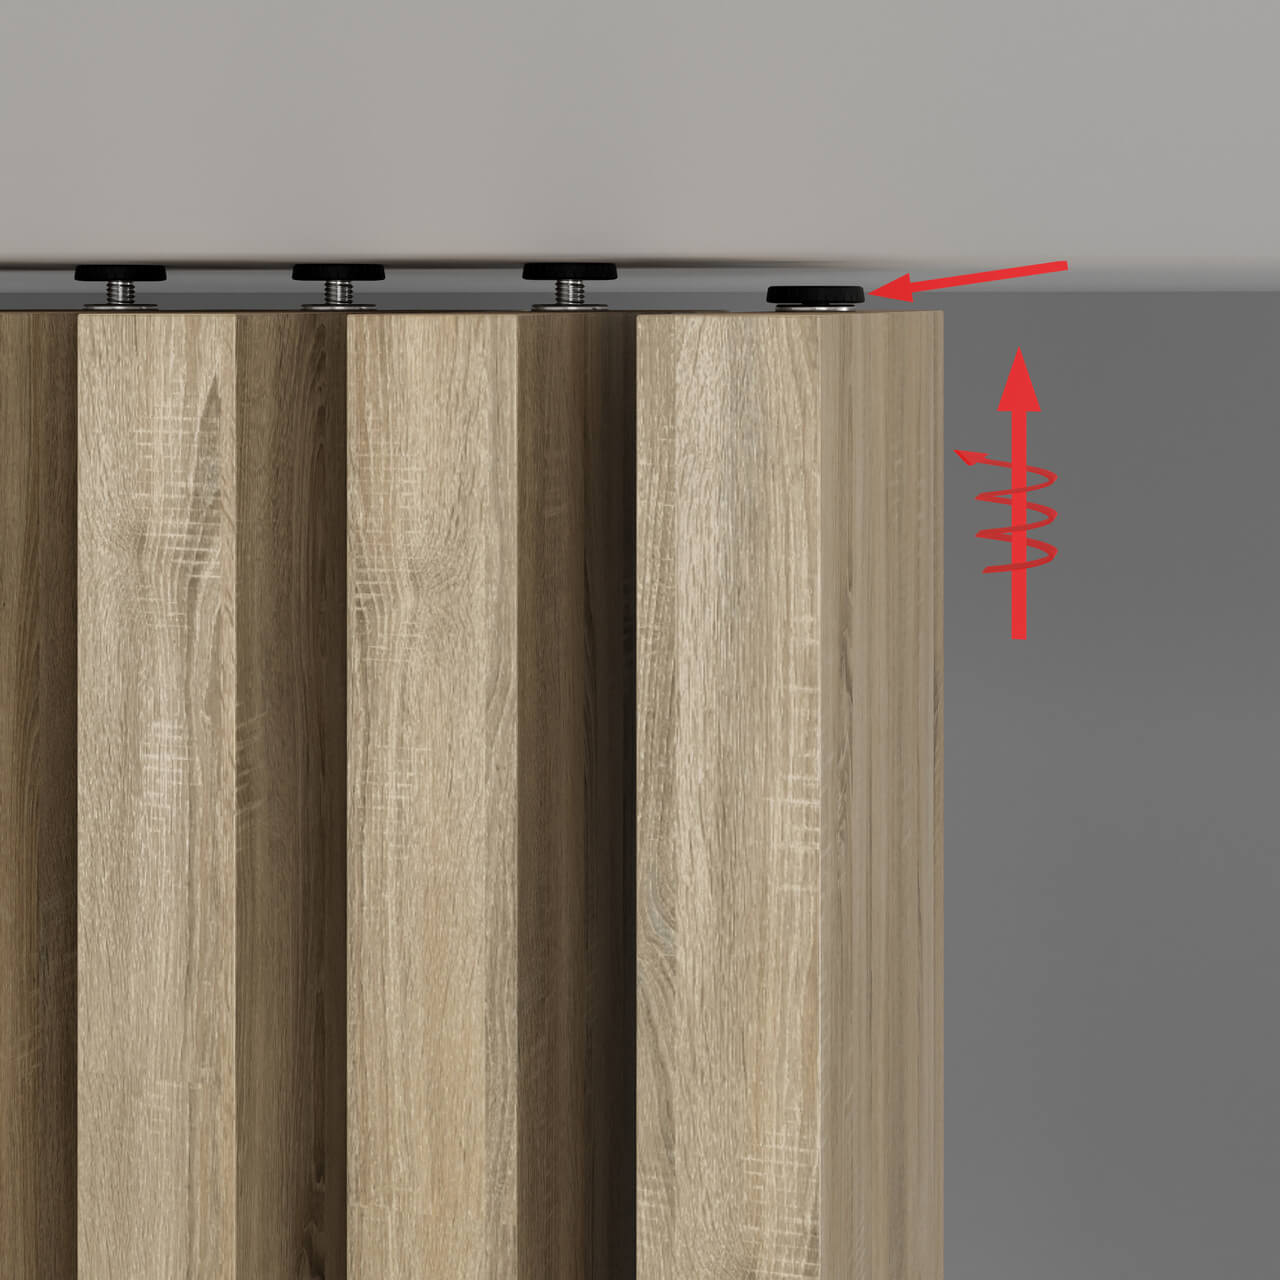
Adjust the height of each slat by loosening and tightening the feet to align them evenly.
Want to save on your purchases? It’s simple! Just subscribe to our newsletter.
Why is it worth it?
Fill out the form now to receive your 5% discount.
Want to save even more? Share your inspiration!
Show us your project that can inspire others. Take photos of your project created using TubeFittings products. Send them to us via email along with a short description of the result you achieved.
You will receive a 15% discount on your next purchase at TubeFittings.eu.
info@tubefittings.eu
Send an email with photosIn the case of slatted partition walls featuring 22x70 lamellas, spacing between the slats is 70 mm, while in the case of slatted partition walls featuring 22x90 lamellas, the spacing between the lamellas is 90 mm.
Assembly of a slat wall is carried out in the following steps:
The wall should be 5 mm lower than the height of the room. This is very important during the assembly. It is best to measure the height at 3 points (left-hand side, in the middle, right-hand side) to check for any level differences of the floor or ceiling. If there are any differences, we take the dimension from the point of the lowest height.
The ready-made kit does not require processing. The kit includes trimmed and drilled lamellas, peg connectors, confirmat screws. The kit does not include screw anchors for the ceiling and adhesive.
Free-standing/openwork lamellas are single slats intended for further processing and assembly on their own, whereas prefabricated openwork walls are trimmed and drilled sets ready for assembly. They do not require further processing - they just need to be screwed together.
The maximum height is 275 cm, while the maximum width is 271.2 cm.
| width of the Free standing slat wall | |
| 4 pcs | 36 cm |
| 5 pcs | 47,2 cm |
| 6 pcs | 58,4 cm |
| 7 pcs | 69,6 cm |
| 8 pcs | 80,8 cm |
| 9 pcs | 92 cm |
| 10 pcs | 103,2 cm |
| 11 pcs | 114,4 cm |
| 12 pcs | 125,6 cm |
| 13 pcs | 136,8 cm |
| 14 pcs | 148 cm |
| 15 pcs | 159,2 cm |
| 16 pcs | 170,4 cm |
| 17 pcs | 181,6 cm |
| 18 pcs | 192,8 cm |
| 19 pcs | 204 cm |
| 20 pcs | 215,2 cm |
| 21 pcs | 226,4 cm |
| 22 pcs | 237,6 cm |
| 23 pcs | 248,8 cm |
| 24 pcs | 260 cm |
| 25 pcs | 271,2 cm |
It is not a standard product, it is a custom-made product developed accordingly to the dimensions provided by the customer. For this reason it is non-refundable. Please make thoughtful purchases.
Free-standing/openwork lamellas are single slats intended for further processing and assembly on their own, whereas prefabricated openwork walls are trimmed and drilled sets ready for assembly. They do not require further processing - they just need to be screwed together.
Free-standing slats can be mounted in two ways:
Unfortunately, no. The length of each slat is always given in the table 'Product details'. Longer slats are not possible.
Unfortunately, no. The standard type of assembly exclusively allows for the permanent embedding of each slat to the ground (wall and ceiling). We do not have any parts and components that allow for assembly in a rotating version.
Unfortunately, no. Lamellas are packed in kits and it is not possible to purchase them as per item. For example, if you need 1.5 lm of wall to be covered, you should buy 2 kits (for 2 lm of wall covering)
Manufacturer: Klemp
![]()
Responsible entity:
Ambient Sp. z o.o.
Berzyna 83B
64-200 Wolsztyn, Poland
+48 68 8880233
biuro@ambientmarketing.pl
This could also come in handy! Discover more products that can fit your project.